Showing posts with label My Garden. Show all posts

May 24, 2013

Patience


Gardening is teaching me patience....I have been waiting and waiting on the seeds to grow & finally vegetation is emerging.

Every year, something changes. So far, this year, it has been the weather. The weather has been cool and rainy. Im enjoying the cool weather, however, the warm weather crops are not so happy. It has been a slow growing season so far, but still excited to see what is ahead.

So many things have been going on in the garden:

1. water is now piped to the garden
2. we made a cucumber trellis out of pvc pipe
3. planted kale, onions, shallots
4. harvested some kale already
5. harvested 4 beets
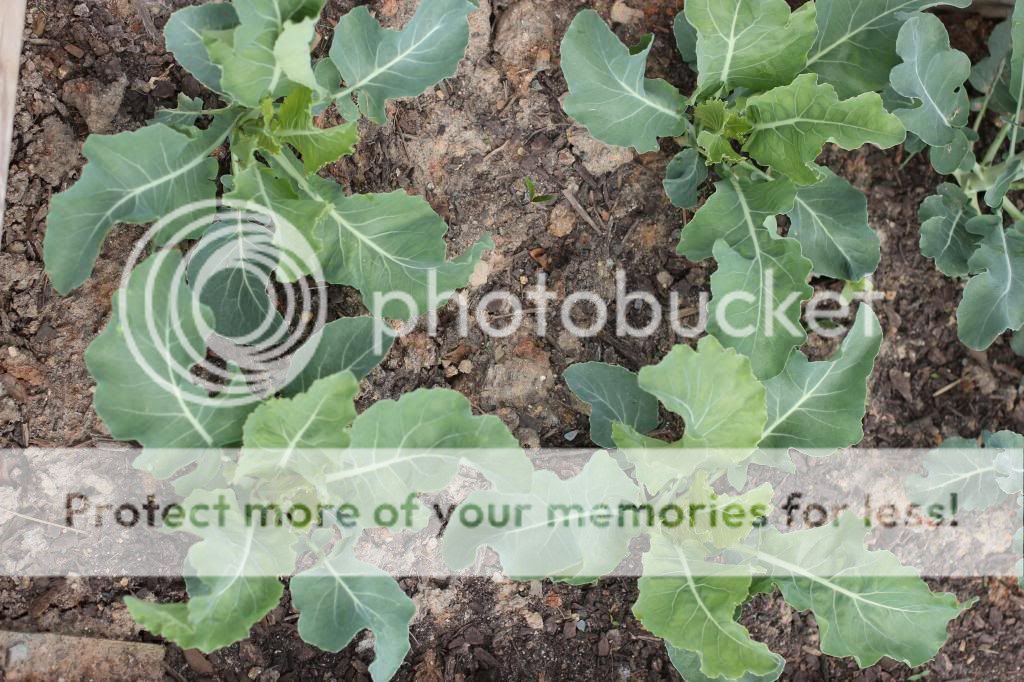
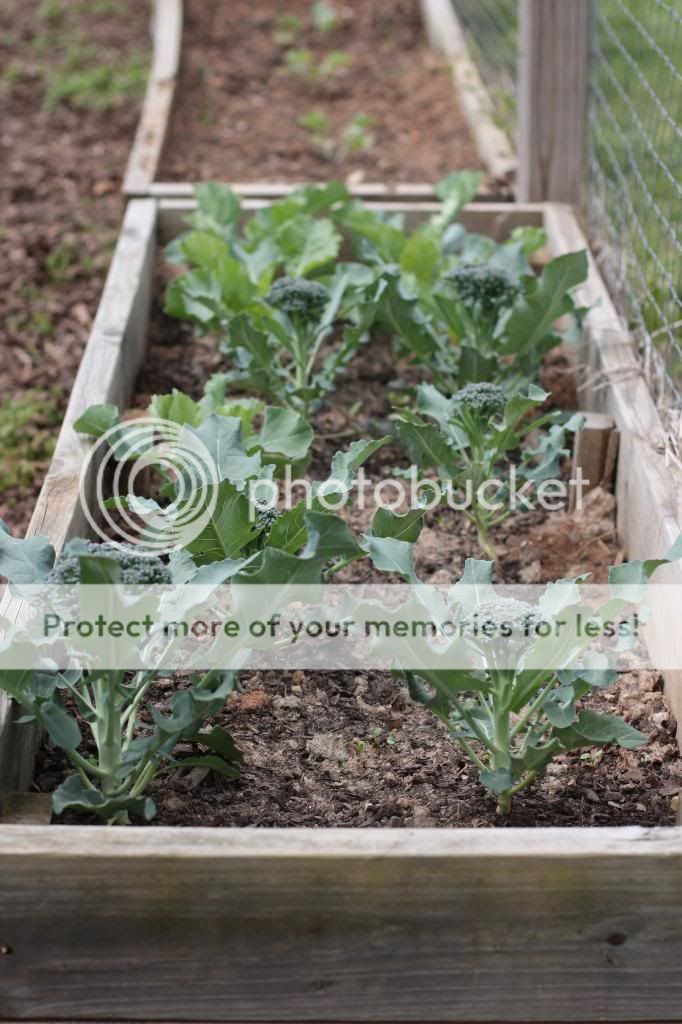
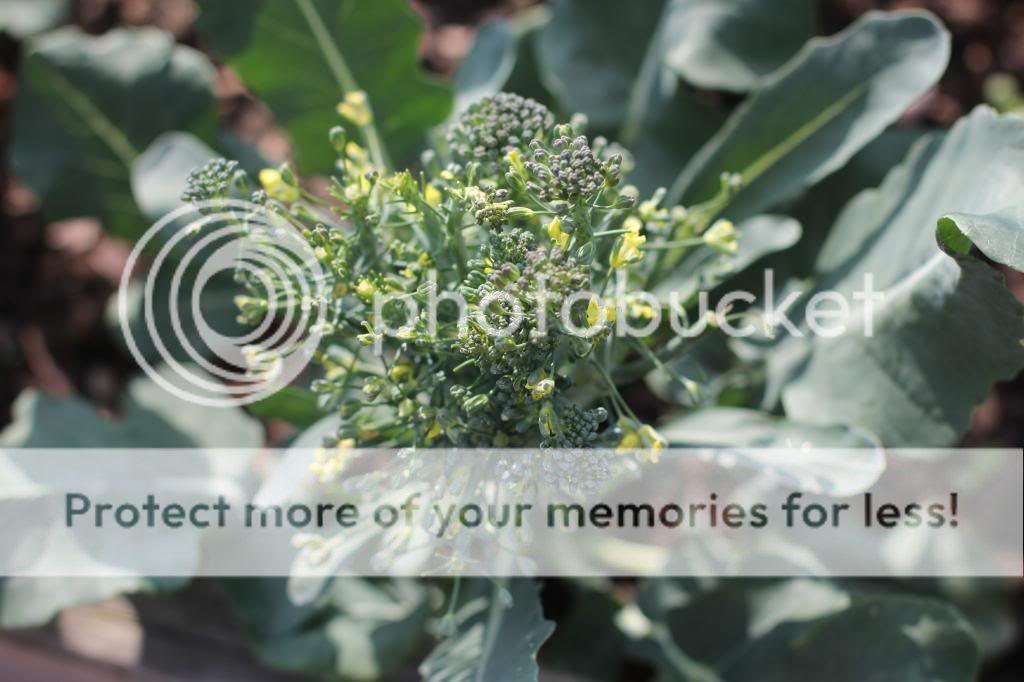
6. pulled up the broccoli (5.22.13)
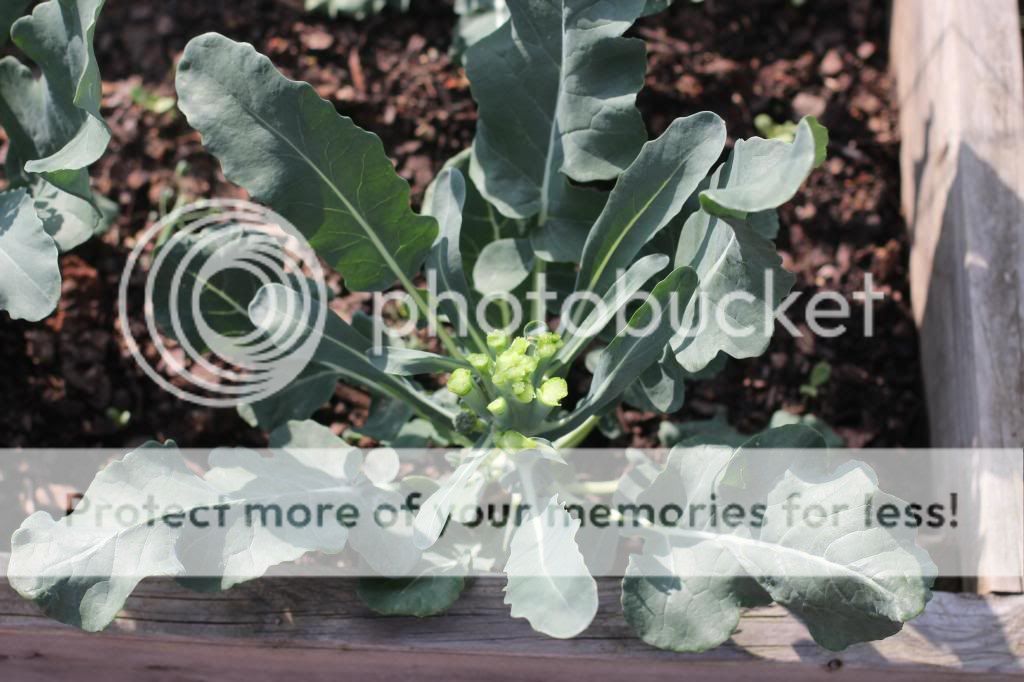
7. saw emerging cauliflower heads for the first time (5.22.13)
8. planted beans, sunflowers, more marigolds, morning glories, corn, watermelon, canteloupe, 
    tomatoes, parsley, borage, zinnas, asters, bachelors button, snapdragons, lavender, celosia and             salvia
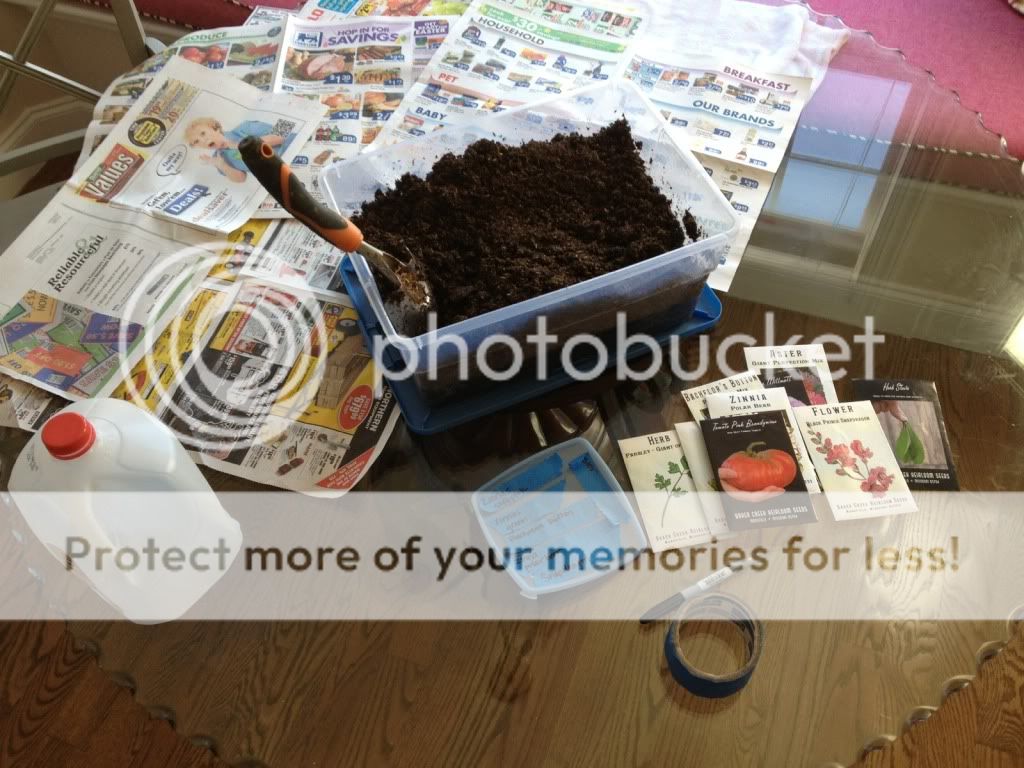
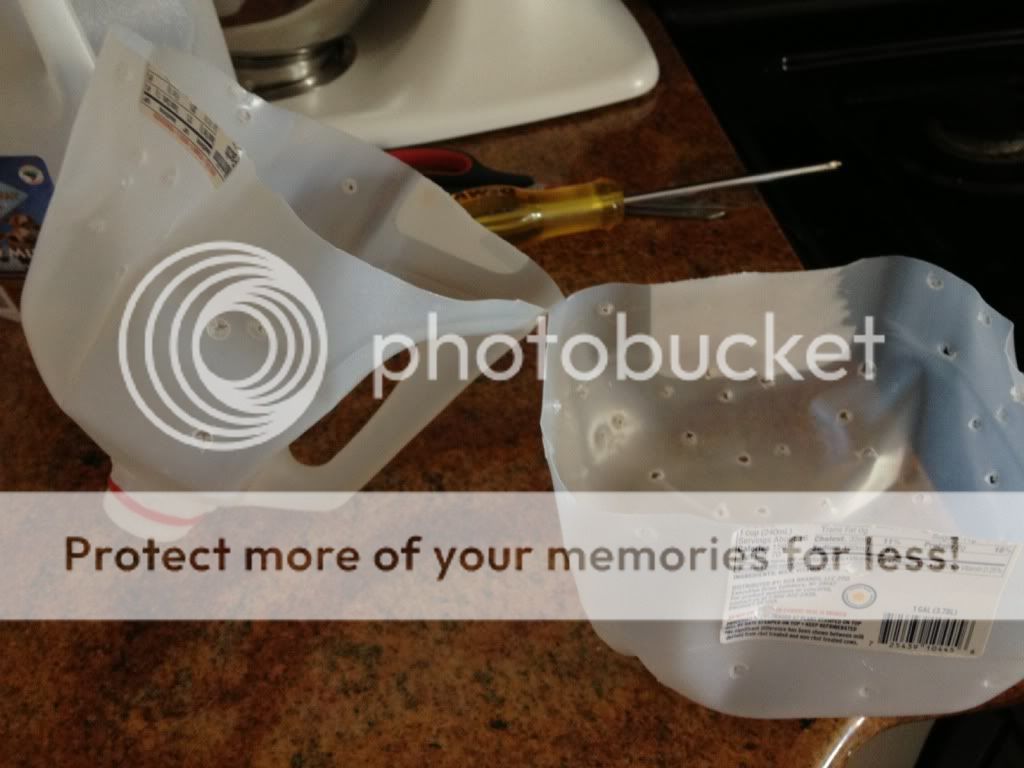
9. transplanted the seedlings I started in the milk jug greenhouses (zinnas, aster, cilantro, and
    tomatoes)

Now for the exciting visuals


its so nice to have water in the garden. no more messy hoses!


may 8      the beets are coming along...they are now doubled in size

supplies for trellis


Here's part of the trellis...can you believe my 3 year old took this picture of me?

Below is a better view of the trellis


kale, shallots and onions
kale inter-planted with marigolds : marigolds right below kale
4 beets harvested on may 22
cauliflower is really growing....i think i may have planted them too close...oops!
its been raining, so i havent been able to take a picture of how the cauliflower looks right now. Its doubled in size from this picture 2 weeks ago

planting corn.....non-GMO corn (Genetically Modified Organism) . Get Facts Here 

pole beans emerging from the ground


pole beans are fast growing


decided to grow the pole beans along the fence instead of using a bed and trying to making supports...the fence is perfect for beans to climb
snap peas are coming along.  I had to re-plant them a couple of weeks ago. These seem to be doing much better.


            Cucumbers. I didnt plant them this close....the rain must have washed the seeds together. Had to do some thinning


Zinna Transplants


teaching


May 2, 2013

Bolting Broccoli

Say what? Yes...the broccoli bolted. It means that it started turning to flower because the temperatures are too warm.

It is rather strange because we have had mostly cool weather with some hot days. But it was still very, very delicious! It was a super easy crop too. I had no issues with bugs, which is always good! I usually go out to the garden twice a day to make sure the plants are well watered and I dont see any evidence of pests.  Each day while I made my rounds, I was always so excited to see how it grew so quickly. Its funny because after a nice soaking rain, the next day, I'd always see a huge growth spurt.
I will try broccoli as a fall crop and see if that helps keep the head intact and together....as it loves cool weather.
I have no cauliflower yet....Im just seeing huge leaves. Im researching this further.
And on Tuesday evening, we had our first Garden to Table dinner. I used the broccoli in a pasta primavera. I  tend to improvise and use a combination of recipes to make meals. If you want to read more about the meal. You can see it here

Meanwhile, here are some photographs:
 
 april 17...the head is fully intact

april 23 cauliflower


april 23

april 23

april 26     turning to flower

planted on march 12 and harvested april 30

april 30 

april 30 

her hands are occupied

even lilly gets to eat the broccoli


April 12, 2013

1st Planting of 2013

I've been away too long...turns out blogging is more work than I anticipated...if I had no responsibilities and fiddled in the garden by day and blogged by night, I'd have no problem, but that's NOT how it is.

So, I bring you, the first planting of the spring garden (March 15th) . I planted broccolli & cauliflower seedlings from Windcrest Farm Organics. My husband also bought some Bonnie brand plants from Lowes....but as you can see, they bit the dust after a few days. We suspect that they were not accustomed to the cold or fluctuation of temperatures. Beet and Carrot seeds were also planted in a separate garden bed. Pea's were planted too. I turned 4 tomato cages upside down and buried them in the dirt. Hopefully, since tomato cages are useless (at least to me) for tomatoes, I will try to use them as a support for the peas. We'll see......


Broccoli & Cauliflower

  broccoli and cauliflower from Windcrest Farm Organics.


March 15th ....planting as the sun goes down


this is how the plants looked a few days after I planted.

 I timidly spoke to my friend, Mary @ Windcrest Farm because I was worried I did something wrong. She assured me that there was nothing wrong, but reminded me that it snowed the day we bought the plants at market and the leaves just got "burned." She told me to pinch off the affected leaves.

They are progressing


And look....nothing to worry about...they are thriving! I'll go out to the garden in the morning to check on the plants and then again in the evening and the plants actually look like they have grown....its amazing process that I never get tired of observing


On April 9th, I  planted some zinnas straight into the ground rather than in containers because the ground is getting warm fast...no spring weather here.


Peas

Here is my upside down tomato cage---to support the peas

Getting some help planting the peas
little honey bear is planting the peas
the peas are peaking through the dirt....so exciting. the lighting is so harsh because I have absolutely no shade in the
garden


And today (April 11th)...the pea shoots are growing...can't wait to taste fresh peas


Update on the Milk Jug greenhouses


It's working...I have 25+ brandywine tomato seedlings! Im so excited that I started from seed and I actually accomplished it! I also have some parsley, cilantro, radish, stevia, zinna, bachelors button, snapdragon, asters, celosia, and lavender growing. There are only 2 bottles of, i think cilantro, that havent germinated.

This was taken today. The first 'almond milk' carton shows barely noticeable tomato leaves, planted the seed on April 2nd. The bottom container shows thriving brandywine tomato seedlings. 

So here's what I did:


  1. I saved Milk jugs, asked family to save Milk jugs, collected old plastic containers that were just collecting dust, paper towel & tissue rolls, egg cartons and soda bottles.
  2. I poked holes (for drainage) in the containers and then loaded 3 inches or so of moist potting soil
  3. I began placing 2 or 3 seeds in each hole shallow depression. And lightly covered the seed.
  4. Labeled each container with the name of seed, how many seeds and date
  5. Taped the milk jugs closed, covered the other containers with either their lid or plastic wrap.
  6. Put them outside on my front porch which faces south, so they get the most sun and warmth from the brick. During the day, I would take the lids off.
  7. I would place the bottles and containers, not milk jugs, in a plastic bin at night and put the bin and close the lid. I did this because we still had 30 degree nights up until 2 weeks ago.
  8. Every morning and afternoon, I would make sure the soil was still moist.
  9. And volia....germination !
My next task is to wait until the tomatoes have at least their 4th and 5th leaves so I can transplant into the garden. And I need to do a bit more research to transplant the flowers. 


Any questions or a pat me on the back? Leave a comment :)

March 28, 2013

Starting a garden, Part 1

Here we go...lets start a garden. Im going to give you some great advise on how to build a garden 

1st Step: Location, Location

Choosing the  right location will ensure the plants are getting the proper amount of sunshine. Just go outside and observe at different times of the day to see what area gets full sun. Also, there is a handy app that you can use called Sun-Seeker Lite.  This will help you determine where the sun is at certain times of the day. 
Just remember, you will need at least 6 hours of full sun!


2nd Step: The Zone

Determine what planting zone you are in. Dont worry, I'll explain how to do this. The zone information will {for the most part} tell you when it is safe to plant certain crops.  It gives you a good starting point. The zone is based on the projected last frost date in the spring and first frost date in the fall. For example, where we are in the  piedmont of North Carolina (zone 8), the date indicates that the last frost date will be April 15th. However, Im not too sure about this since it has been quite cold. I will consult my almanac and see how the weather forecast is for that week before I put the plants out. I discovered this site recently and it is very helpful plus it's free ~ Smart Gardner. 
You can actually type in your zip code and it will tell you what zone you are in and what you should plant at certain times. And it can help you plan out your garden too. Its super helpful!

3rd Step: Plan

What would you like to eat this summer? Grab a piece of paper and make a list of what kind of crops you will plant. The Smart Gardner will also help you determine what you can grow where you live. I will be planting carrots, beets, spinach, peas, beans, broccoli, cauliflower, tomatoes, cucumbers, squash, zucchini, watermelon, cantaloupe, corn, zinnias, snapdragons, marigolds, bachelors button, sunflowers, asters, stevia leaf, parsley, and cilantro....I  may add more, but not sure.


4th step: 

Figure out what size raised bed(s) you wish to have. This will be based on the space you have available or space you wish to dedicate.  And just think, if you enjoy growing your own food, you can expand in the fall or next spring. The 6 beds we, I mean my husband made are 4' x 12'. We chose 12' because boards come 12' long and that way there was less cutting. Each bed took him about 30 mins to build--amazing! He used pressure treated wood, which is very durable, but Im not too crazy about the chemicals that could leach into the soil, so Im in the process of lining each bed with black plastic {contractor trash bags}.

Try to use what you have for building the bed(s). Do you have a pile of lumber, bricks, huge rocks, stone, or cinder blocks laying around? Get creative.  Dont use railroad ties...they have been treated with creosote, which is very toxic. Cedar or redwood is best type of wood because it naturally resists rot and insects. If you use wood, here are some helpful instructions on building a raised bed. Everyone learns differently, so if these instructions are a bit confusing, do a search for " how to build raised beds."
This is from a book I have Great Garden Companions
 
Instructions continued
Here are the new 6 raised beds
A close up


Filling the beds with a mixture of clay, compost, sand and bark

my sweet helper

I'm lining the bed with the black plastic contractor trash bag. I used roofing nails to tack it to the wood. I used what was available in my husband's garage...no need to go buy more supplies...just use what you have
1 bed lined, 5 to go. And yes, I do all of this while my honey bear is right with me. She was giving me nails when I needed them, but then found a rock and started to toss it in the water-filled wheel barrel.

I'll let you digest all of this information and we'll pick back up where we left off on my next post. I'll go over selecting seeds or plants, growing medium {dirt}, and planting.  No sense in overwhelming you.


Here's what we've been doing this week....

Me and my little helper worked on the milk jug greenhouses. This allows us to get ahead on starting the seeds even though it is still too cold to plant seed directly in the ground. It seems like a brillant idea. I found the winter sowing idea here. I started the seeds on March 21st. Then planted more seed on March 25th and 27th.

Getting supplies together
Here I go..

I began poking drainage hole in the milk jug
I did it the old fashioned way because I couldnt find any of the 7 drills my husband owns. So I proceeded to heat a screw driver to make the drainage holes.


Cut the milk jug and left a little hinge

Honey bear , in her minnie mouse attire, filling the jugs with 2-3 inches of potting mix
Planting the seeds


labelled, taped closed and outside in the southern sun


Do you have any questions so far? I love comments, so feel free to say something in the comment box.
window.setTimeout(function() { document.body.className = document.body.className.replace('loading', ''); }, 10);